
With the foundation poured, we started the framing bright and early on a Monday morning. When I say we, I mean Nancy’s brother-in-law, (her sister Tere’s husband) David Hoechst, and me. David worked in construction his entire life, and while he wasn’t a General Contractor, he has built several houses including his own. His and Tere’s farm just North of Athens, GA, is the location of our cottage that Nancy and I built (again with his assistance) that you have seen in Facebook posts over the past several years.
I must tell you that David and I work extremely well together because we are both perfectionists who have a high attention to detail. I’ll state here up front that the way this workshop is built is a thing of beauty, with studs on the back wall aligning with those on the front wall and the framing that is as square, straight, and plumb as can be!
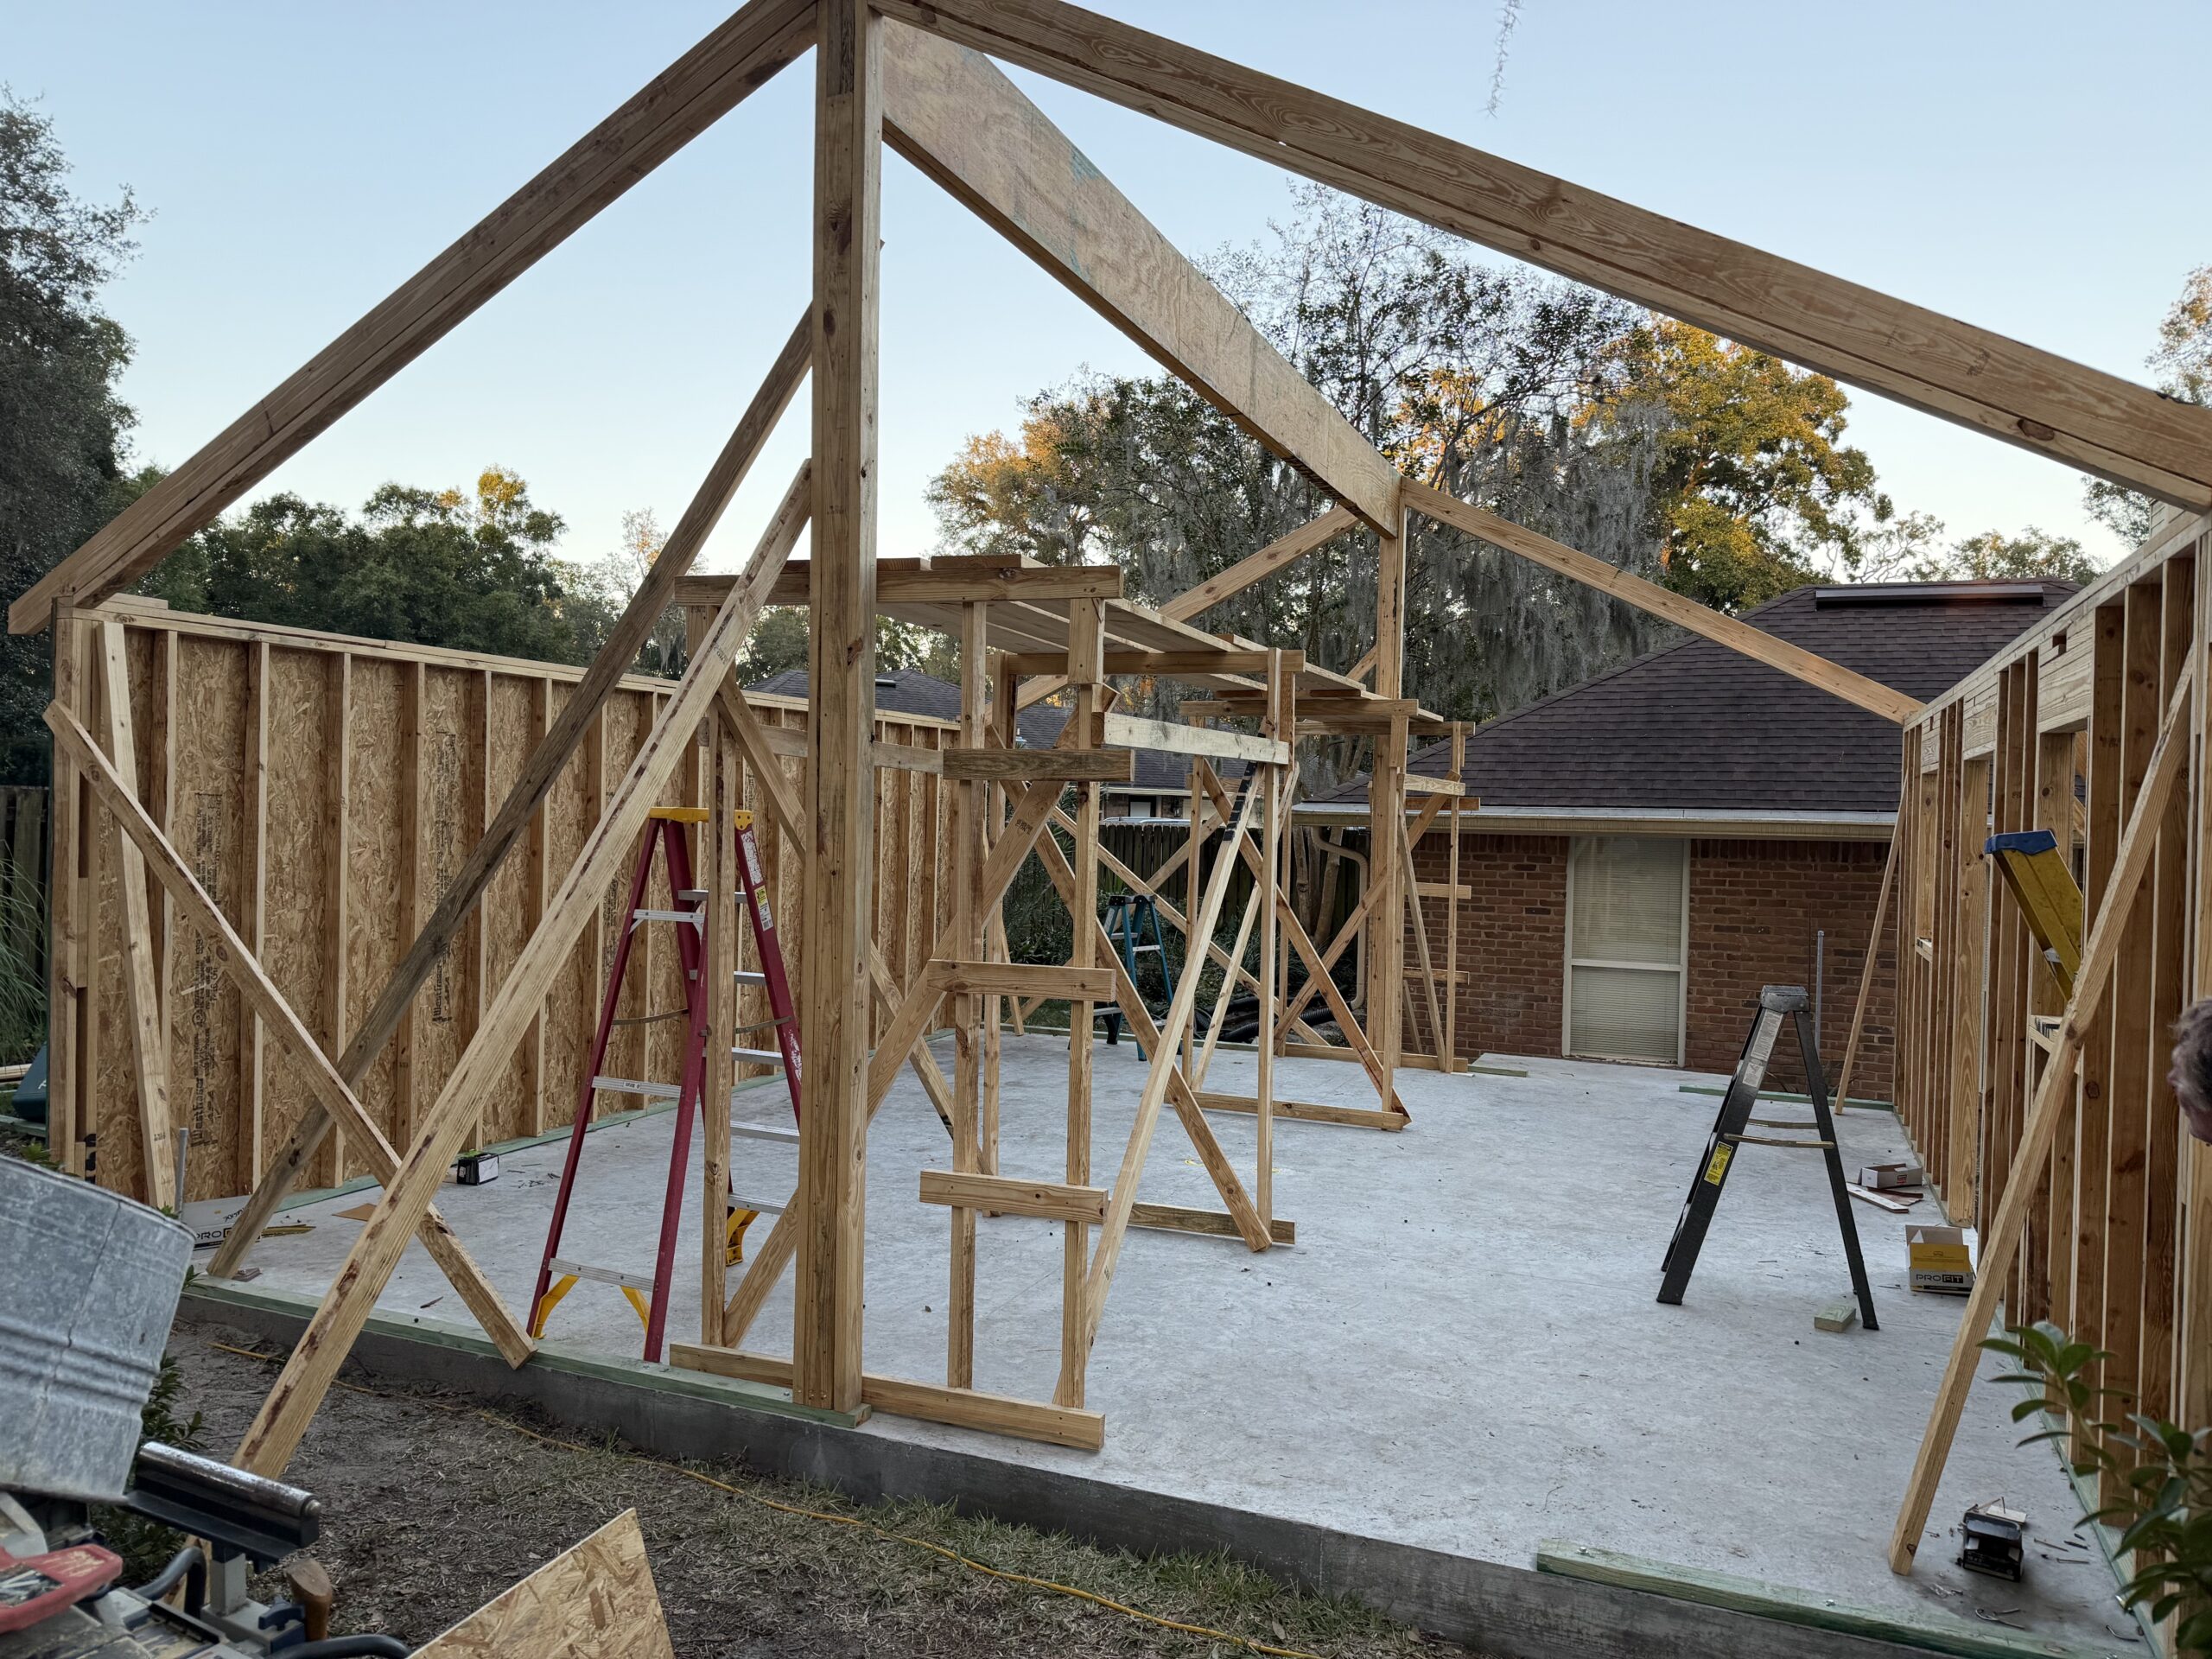
You’ll notice in the photos on the Photo Gallery II page, that we started with the easy wall… the big blank, back wall. Once that was framed, stood up, and braced, we moved to the front wall where the 2 windows and door were carefully positioned, perfectly symmetrical on the front wall. It then got very interesting as we moved to the end walls and the huge ridge beam for the roof.
New to me was a framing construction ‘technique’ called balloon framing that the plans required for the 2 end walls. Balloon framing is where the studs go all the way to the roof rafters, eliminating the usual double top plate at 8 feet off the slab. (You can see those in the Photo Gallery.) Because of this balloon framing, the huge ridge beam had to be supported on posts on either end. I mentioned a few sentences ago that this is where things got interesting!
The ridge beam was actually 2 LVL beams that were individually lifted into place and nailed together. Each beam was 1 3/4″ thick, 18″ high, and TWENTY-SIX feet long! David decided to build us 2, 8′ high scaffolding sections so that we could reach the top (bottom of the beam about 14′ off the floor) to put that beam in place. Lifting those beams required that I call in some youth, and some muscle! I called on my next door neighbor, Nick Beaudry, another friend Jimmy Gill, and a third friend, Mike French. Once we had ‘all hands on deck’, we put David and Nick on one end of the beam, Jimmy and me on the other end, and Mike in the middle to keep everything steady. We just muscled it up there, and stating the obvious, we were successful… and with no injuries. It was downhill from there. Thinking about putting those beams in place kept me awake at night but when you plan well, and have good, youthful muscle, it comes off without a hitch!
We then quickly moved to putting up the rafters, framing the faux gable dormer on the front, and then sheathing the entire thing with the OSB sheets. (This is where I offer this observation: did you know there was a lot of math in construction?! Calculating those roof rafters was an exercise, I tell. you!) For those who didn’t ask, I’m going to tell you anyway, that the code calls for a specific nailing pattern for the roof and walls. Each sheet of OSB on the walls must be nailed every 6″ around the edges, and every 12″ in the field. The roof sheets must be nailed every 6″ everywhere… around the perimeter and in the field. Needless to say, there must be 10,000 nails in this 22′ X 24′ building. I know, that’s a slight exaggeration; but I have I bought 2 boxes of 2000 of those sheathing nails, and a box-and-a-half of 2000 framing nails. All of this framing was completed in just 8 days… after which David returned home and my friends and I continued on.
With all the nails properly in place I called for the nailing inspection, which I passed with flying colors! The next step was to put on the house wrap, which for me was provided by my good friend Greg Rogers who came to oversee its installation. All along this process, friend and neighbor Don Masden was frequently here helping me to hold boards, hold a measuring tape, and generally being a perfect assistant. Wilh the nailing pattern approved I could now call in my roofers to complete the roof. (Universal Roofing was my roofing company and they were outstanding.) The only 2 sub-contractors I hired were the concrete guys for the slab and the roofers. I MIGHT have been able to shingle the roof myself but what the Universal crew did in 1 or 2 days would have taken me weeks to do. So, I took the smart option!
David returned before Christmas and we held our breath, grit our teeth, as we tore a hole in the roof of the house to frame the breezeway connector. With a big opening in the roof of the house above my office, we dodged a few raindrops, got it dried in, and ready for the roofers to finish up. This process also involved fishing the service entrance wire to go between the main panel box in the garage and the sub-panel in the workshop. My electrician friend, Janie Stowers, was in the attic with David and was amazed at the tiny, tiny, opening above my office he crawled through to grab the end of the wire to pull it on through. Wow… what a day!!!!
I’ve included in this framing post some photos that show the windows and doors installed. There’s a story about those, too! I called for their inspection and, after having had the inspector compliment me on my sheathing nailing, expected a similar interaction. When he arrived, he asked, “Who put in your windows?” I proudly said, “I did”. Well, he said, they can’t be nailed in, they have to be screwed in. As I stood there looking like a deer in headlights, he asked when I could change them out, and I said I would get on it as soon as he left! He allowed me to pull the nails (27 per window!), replace them with screws, and send him photos to confirm. Later that day, with the photos in hand, he approved my windows and doors.
I’ll end this framing post here; the next one will pick up with the siding, and wiring, and a few other things that have taken place inside the Taj Mashop. As always, THANK YOU for reading. I hope you find these posts and photos interesting as you follow along with this dream as it becomes a reality.
You will find the accompanying framing photos on the Photo Gallery II page here on the website.
Comments
2 responses
Wow! What a blessing to have so many talented family members and friends.
Great job Doug-brings back memories of our build!